|
If damage to your home is covered by your policy, and you must leave it while it’s being repaired, where would you stay? Would the cost of a hotel or temporary apartment fit into your budget? Having loss of use coverage included in your homeowners insurance policy can help. If your home is damaged by a covered loss, loss of use coverage can help pay for your additional housing and living expenses while your home is being repaired or rebuilt.
What Is Loss of Use Coverage in Homeowners Insurance? Loss of use coverage, also known as additional living expenses (ALE) insurance, or Coverage D, can help pay for the additional costs you might incur for reasonable housing and living expenses if a covered event makes your house temporarily uninhabitable while it’s being repaired or rebuilt. What Is Additional Living Expenses (ALE) Insurance? ALE insurance reimburses homeowners for additional living expenses stemming from temporary relocation after a covered loss. For example, if your house is severely damaged by a fire, your loss of use coverage would reimburse you for the cost of a hotel up to your coverage limit. Many homeowners insurance companies include loss of use coverage in their policies and place a limit as a percentage of your dwelling coverage. For instance, if your limit is 30% and your dwelling coverage limit is $200,000, you would be covered for up to $60,000 under your loss of use coverage. Policy limits vary by insurance company and by policy, so if you have questions regarding your specific loss of use coverage limit, contact your insurance representative. Typically, you can increase your coverage limit for an additional cost. Loss of use coverage only applies to damage caused to your home by covered perils. For instance, if your home is flooded and you don’t have flood insurance, your loss of use claim would not be covered as a result of this type of loss. What Does Loss of Use Protection Cover? As previously mentioned, loss of use insurance typically provides coverage for additional living expenses resulting from a covered loss. In simpler terms, this means you would be covered for expenses you wouldn’t ordinarily have if you were living in your own home. For example, let’s assume you typically spend $100 on gas per month, but that amount has increased to $150 because you live in a hotel that is farther from work while your home is repaired. In this scenario, you would be reimbursed $50, which is the incremental cost. A list of common additional living expenses that are typically covered under loss of use insurance is provided below.
What Is Not Covered by Loss of Use Protection? Loss of use protection does not cover expenses that you were already responsible for before the loss. You will still be responsible for paying your mortgage, insurance, child care expenses and so on. The important thing to remember is that loss of use protection is for additional expenses you become responsible for because you can’t live in your home. For example, if your family normally spends around $200 a week for food, but now you are staying in a hotel without a kitchen, you may need to eat out for most of your meals. Eating out is costing you $300 a week. Under loss of use coverage, the $100 additional expense per week would be covered. Do I Have to Pay a Deductible on Loss of Use Insurance? You may be responsible for a deductible for other parts of your claim. Your homeowners insurance representative can explain your deductible further and help you explore other coverages you may want to add to your homeowners policy. The goal is to make sure you have coverage that fits your needs. How Much Loss of Use Coverage Do I Need? Everyone’s insurance needs are different. Loss of use coverage is typically based on your dwelling coverage and calculated at about 20% to 30% of the dwelling coverage limit. Consider whether this is enough to cover any necessary increases in your living expenses if your residence is not habitable while damage is being repaired or replaced. Consult your Calfee insurance agent about your individual policy to understand the amount of loss of use coverage you have; this is subject to coverage terms and limits. To insure your personal property, get a quote or find an agent.
0 Comments
Carpets and rug are not widely used in warm countries, but in northern Europe and the United States, they are a basic decorating feature. Carpets give a lovely sensation when you walk over them, especially barefoot, and also offer interesting aesthetic possibilities. They are seamless and therefore unify spaces, but also can be used to mark off zones, or areas of activity. They permit versatile solutions for our interior design due to the colors, textures, and finishes they come in.
When choosing a carpets and rug, bear in mind that it will be tacked down, or fitted, and can last many years if well looked after so it will have to be easily adaptable to any new decoration style we may wish to achieve. Another quality of carpets is the acoustic and thermal insulation they provide. They are suitable for all the rooms in the house, except in the bathroom and kitchen unless you are prepared to make the extra effort to ensure they do not get wet or stained when bathing or cooking. Unfortunately, they can get dirty easily and may be difficult to clean. They are not the most hygienic of floors. When choosing a carpet, take into consideration its texture, pile, the yarn, weight, density, color, and design. Most carpet is made of sheep’s wool, which is durable, dyes readily, and handles easily. For floors that are heavily used or in contact with the open air, use durable materials like stone, marble, tiles, and some types of hardwoods. Do not use carpets and rugs if you have pets or if you or your family members suffer from allergies to dust: they get dirty easily. Vacuum carpets regularly so that neither dust nor dirt accumulates in them. Make sure all carpets used on the floor are designed for floor use: some carpets are intended for wall use. Avoid spills because stains are hard to remove from carpeting. Carpets give a space a natural look and feel, however, they are made of delicate material and often do not stand up well to humidity. Mattresses are a key component of bedding. Because most humans spend over a third of their lives sleeping, finding a quality mattress is important for a high quality of life. Normally comprised of foam and fibers, with metal springs on a wooden frame, mattresses help ensure a restful sleep.
Serta, Sealy, and Simmons are the three largest, most popular mattress brands in the USA. Standard USA mattress sizes are Twin/Single (39” X 75”), Double/Full (54” X 75”), Queen (60” X 80”), King (78” X 80”). Other USA mattress sizes include Olympic Queen (66” X 80”), California Queen (60” X 84”), and California King (72” X 80”). Mattresses typically require replacement after seven to fifteen years of use, or sooner, if the coils or frame have experienced noticeable wear and tear. A Brief History of the Mattress In the Neolithic period (8,000-6,000 B.C.), people migrated from sleeping on the ground to simple man-made beds and mattresses. These first resting structures were constructed of leaves and grass, held together with animal skin. Around 3,500 B.C., Persians invented the first “waterbeds,” made of goatskins filled with water. The more affluent inhabitants of the Roman Empire, circa 200 B.C., slept on mattresses filled with feathers. Steel coils, which now support the vast majority of mattresses, were not patented for this purpose until 1865. Mattresses have enjoyed many advances in the past few decades, including the advent of air mattresses, foam mattresses, and “memory foam” mattresses. Increasingly, mattresses are being constructed from modern materials such as latex foam and polyurethane foam. In addition, those consumers seeking affordability and convenience have chosen futons and futon mattresses to ensure their good night’s sleep. And there has long been a core of waterbed enthusiasts who remain committed to waterbed mattresses. With the evolution of lighting technology, outdoor lighting has seen its share of breakthroughs. Outdoor lighting is as important as indoor lighting. Lighting up the spaces immediately outside or surrounding our living areas is extremely vital for visual orientation, safety while navigating, and security, as well as for balancing out the indoor ambience. The outdoor milieu prepares and provides a preview to the life and living style within the four walls. Outdoor lighting is equally important in reflecting the external persona of a structure and its surrounding area. It sets a particular mood and provides a visual treat.
Outdoor lighting presents enormous scope for experimentation. It’s a virgin canvas waiting to be colored by unique lighting approaches, ideas and techniques. Outdoor lighting spaces comprise the areas surrounding the structure, pathways, swimming pools or fountains, landscape surrounding the structure, patios, balconies, decks, porches, etc. There are a variety of options on the market, including low-voltage lighting, flood lights, tree lights, post lights, lanterns, string bulbs for festive occasions, recessed lighting, scoops, pagoda-style louvered faced lights which granite finish that easily blend without door environs, and even solar lights devoid of wires and operating on NiCad batteries. Various techniques of lighting can be used in outdoor lighting. Spot lighting, which focuses light on architectural features, may be positioned to minimize glare and focus fully on the focal point. Silhouetting is placing the light sources behind the object to bring out the shape of the object rather than the exact color and texture. Key light or shadowing requires placing the light source directly in front of the object of interest to create a light and shadow effect. Moonlighting requires a fixture to be placed on the trees and aiming it down to provide a natural peaceful moonlit effect. Deck lighting, grazing (light focuses on the object at a sharp angle) and washing the surface (light focuses on objects at a wider or blunt angle), step lighting, walkway lighting, pond and fountain lighting, and sign lighting are some of the various techniques used for outdoor lighting. In outdoor lighting, a basic thing that has to be kept in mind is that the lighting fixtures are exposed to all the elements outside. In case of lighting water features, the light source is sometimes from the inside to create a magical glittering and rippling effect. Therefore, appropriate lighting fixtures and lights should be chosen. Self-lighting kits of low voltage are also available for those who wish to try out their creative lighting talents. Ready to be a little wild in your decorating?
The secret to good decorating is to be bold and creative without ever being tasteless. Here’s an idea which is unique enough to get attention, yet will never be out of place. Instead of just flowers in a silk arrangement, use feathers! Feathers bring an added bit of texture and life to the standard silk flower display. Pheasant and peacock feathers will add height and drama. Bright colored feathers will make your display eye-catching and unique. To add softness to a bouquet, try ostrich plumes.. You may want to leave the flowers out and make your arrangement entirely out of feathers. An interesting container can serve as a wonderful starting point. Search for one with an animal skin motif. Duck feathers in a leather container will add a manly feel to any office or gameroom. Short feathers at the base, with spikes of pheasant plumes, create an attention drawing piece for a buffet or hall table. Exotic feathers can add spice to a bedroom. Put them out with candles for a special night, and create a very romantic mood. You might even try a boa for yourself! Look outdoors for feathers of local birds from your area. You can use these to make a statement about your love of where you’ve chosen to live. Take a walk in a nearby wooded park and soon you’ll have a collection from local birds. Typically these are small feathers, yet they’ll say "home" in a cute display on an end table. Search the floral section of your favorite craft store for interesting natural items such as moss, twigs and dried seeds to add to your design. A skilled florist will help you change these elements into a stunning display for your home. Don’t be afraid to experiment. You’re sure to draw interesting comments and with reasonable consideration, you’ll add a stimulating look to any room. In deciding on what to do in hiring a kitchen designer a well thought out plan is necessary for any kitchen design project to be successful.
A good kitchen designer should be able to work with you to create the design that will both fit your desires and needs and that squares with your budget. 1. How Much Are You Willing To Spend? Level with the designer just how much you will be willing to spend on your kitchen design project. Let the designer know just what you would feel comfortable spending. This way you can insure that the designer and contractor will have a clear direction on where to go with the project and not go overboard. They will have a good idea of the limits when drawing up plans and selecting materials. 2. How Much Time Are You Willing To Devote? You need to consider what your personal needs are and if you will be able to work around the necessary construction in your kitchen. By consulting with an experienced kitchen designer you can get a good idea of how long your kitchen design project will take by providing a timeline that your family can plan around. 3. What Style Are You Planning For Your Kitchen Design Project? You want to give the kitchen designer as much information as possible. You need to do as much research as possible before your meeting with a kitchen designer. First you should consult with design magazines and catalogs to get an idea of what style and design elements you would like to see for your kitchen. To compile more ideas visit kitchen design showrooms, check out products and design on the internet and take notes. What are your likes and dislikes regarding color and styles. Make a scrapbook with clips from the magazines and catalogs, as well as examples of materials and design elements you would like to see in the kitchen. Use these to show the kitchen designer what your vision is for the new kitchen. Also bring a list of questions for your kitchen designer. 4. How Do You Use Your Kitchen? You need to be prepared for questions that a kitchen designer will ask you when you first meet with him. Among the questions that you need to ask yourself before talking to your kitchen designer are: Will you be doing a lot of entertaining with family and friends? Is your family busy during the week with lots of activities? You should also fine out what other family members have in the way of ideas. 5. How To Prepare For Your Kitchen Design Project? You will need to prepare for the disruption that will be caused by your kitchen design project. But with the right planning you can make the project run as smoothly and a quickly as possible. You need to make sure that the kitchen design project area and the living area are separate for both safety reasons and to stay out of the way of the contractor and his crew. You might have to set up a temporary kitchen in another room of the house. What time of the year you schedule a kitchen design project can make it easier on everyone since in the warmer months it is possible to eat and cook outdoors. When it comes to glamour-whether you're talking about a room interior or a fashion statement-it's not about the flash.
The juxtaposition of simple and elaborate, mingled with an unexpected touch of extravagance, is finding its way into Manhattan lofts and Malibu Bauhaus beach houses. The note of glamour is added with one statement piece, and whether it's a gilded Venetian mirror or a spectacular leather turquoise chaise in the center of an all-white living room, that one piece adds a little luxury to an otherwise casual room setting. The name of this simple and elegant glamour trend is "non-chaluxe." It is best personified by the new Hollywood-20-something stars and starlets who mix $20 T-shirts with $350 designer shoes and wander the streets of Soho with little kids in tow. It's like wearing "the little black dress" with one amazing piece of jewelry. "Glamour doesn't have to be over the top. One fantastic chair or sofa placed in the midst of a quiet retreat is a wonderful way to celebrate life. Our take on turquoise is our interpretation of an amazing piece of jewelry on our favorite simple dress," said Pasquale Natuzzi, CEO and chief designer of Natuzzi, manufacturer of sofas, sectionals and chairs. The chaise is covered in rich, luscious turquoise leather so it can be paired with the matching occasional chair or complemented by the company's sectional sofa in turquoise Tirelli fabric. Both the chair and sectional are anchored in stunning, slender, brushed metal legs for a lean Grace Kelly-esque glamorous appeal-simplicity with an elegant, fashionable twist. You can place all these pieces together or mix and match them with tag sale items, or sparse, starkly contrasting furnishings. Whether choosing one elegant piece-or a set-look for cutting-edge design and superior Italian craftsmanship, says Natuzzi, who has been designing and manufacturing residential furniture since 1959 and has grown into a global leader in the leather upholstery business. Here are 10 important guidelines for your kitchen design project.
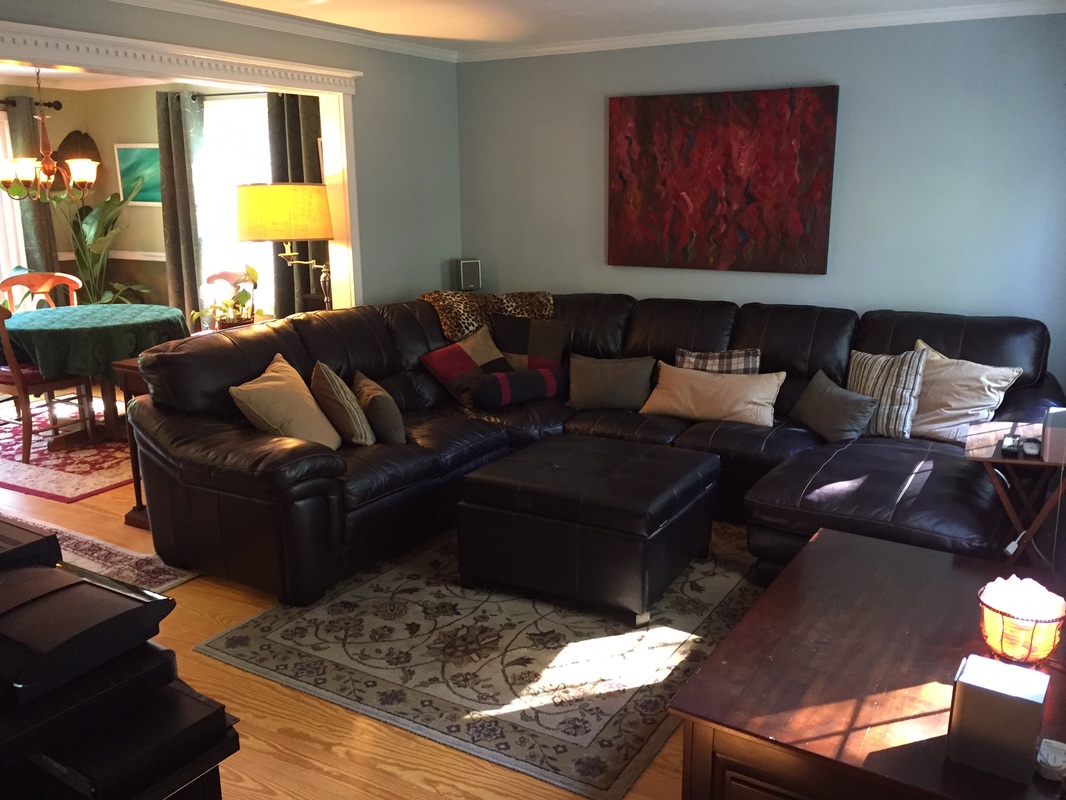
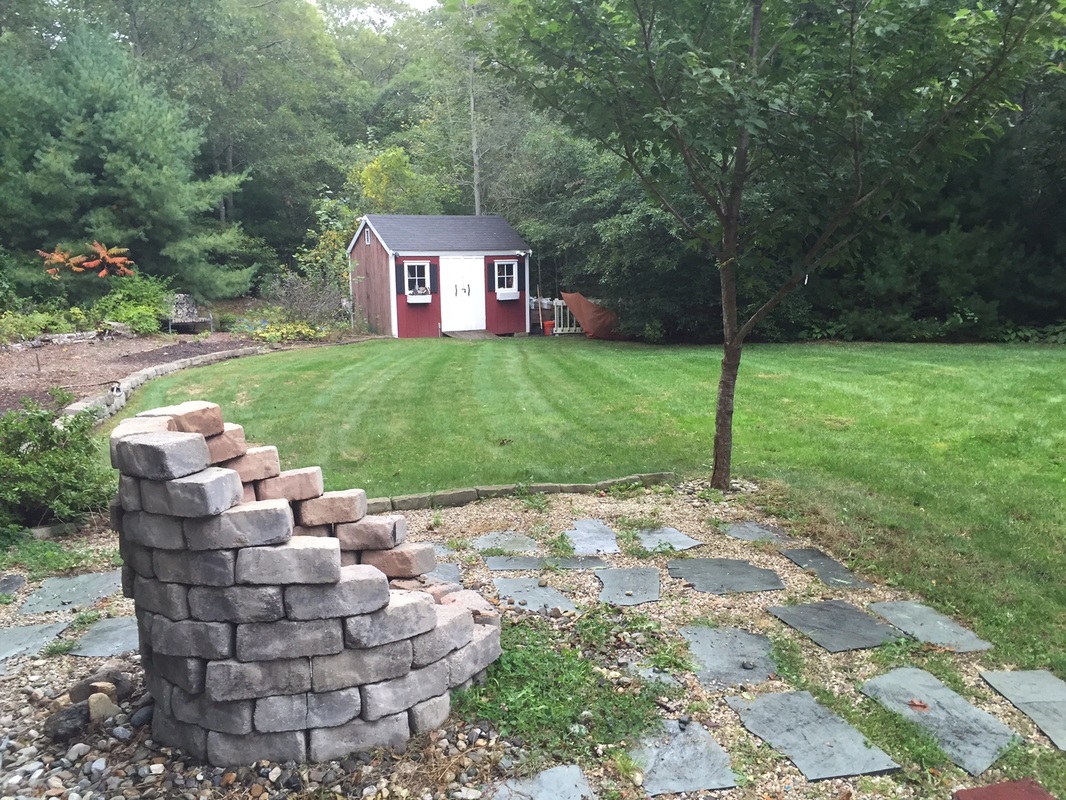
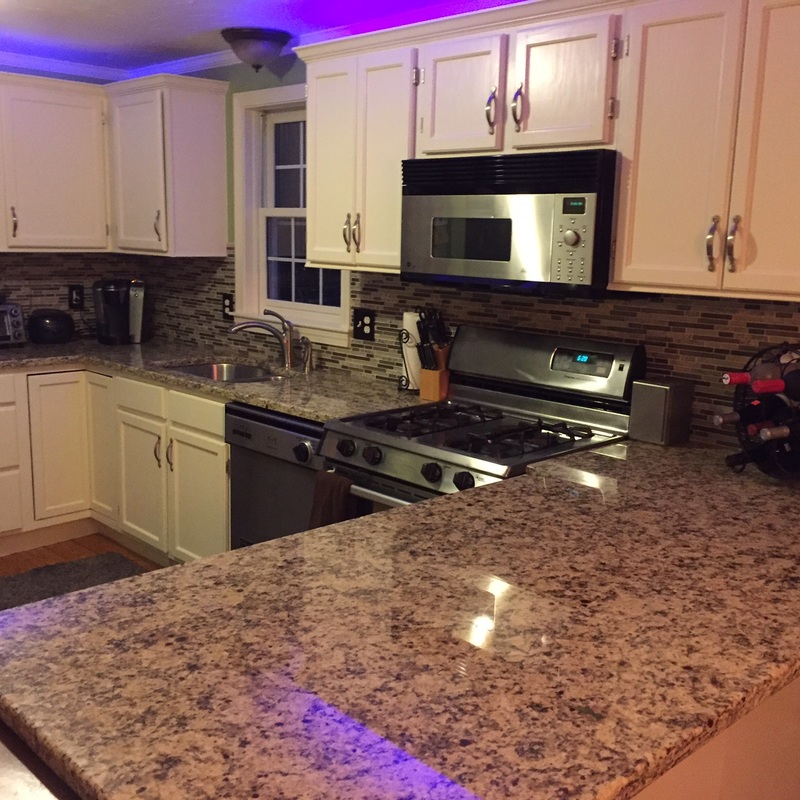
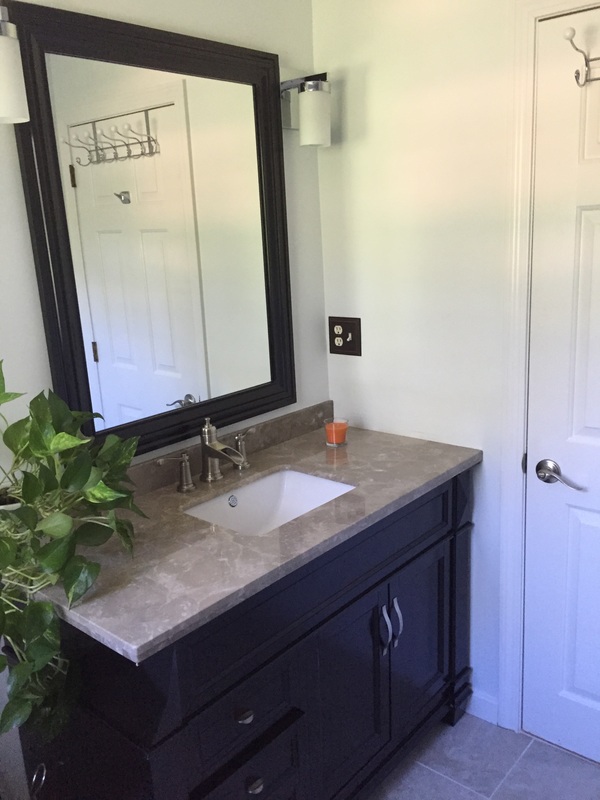
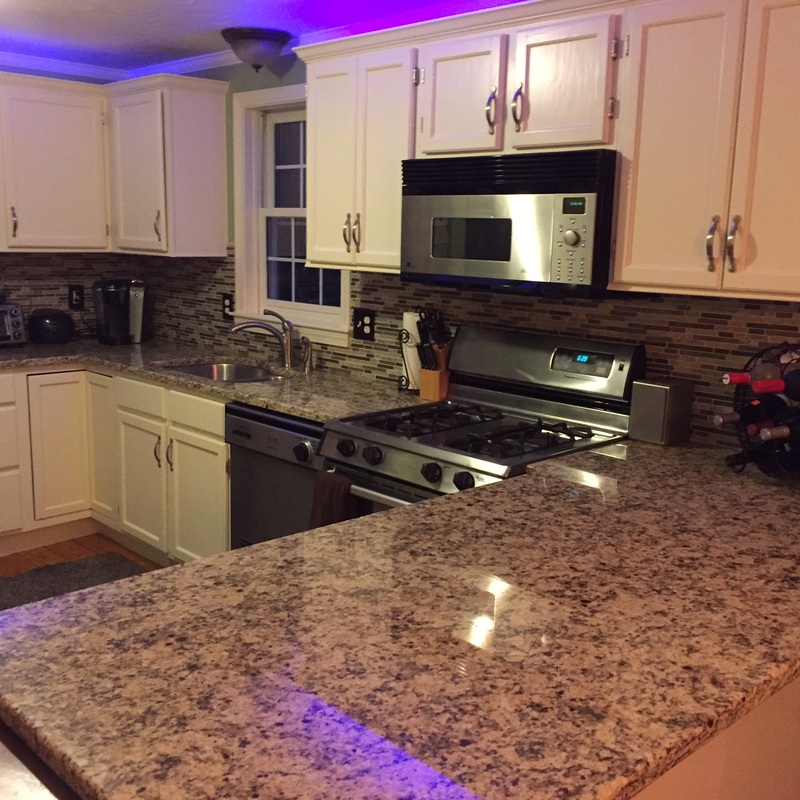
1. For efficiency, the work triangle (the space between the sink, refrigerator, and stove) should measure 26’ or less with no single side longer than 9’, or less than 4’. 2. In kitchens smaller than 150 sq. ft., opt for at least 13’ of base cabinets, 12’ of wall cabinets, and 11’ of countertop. In kitchens which are larger, go with at least 16’ of base cabinets, 15 1/2’ of wall cabinets, and 16 1/2’ of countertop. 3. For convenience, plan work aisles to be at least 42” wide for one cook, and at least 48” wide in multi-cook kitchens. 4. Specify a minimum of 24” of counter space on one side of the sink and at least 18” on the other. 5. To create the most accessible landing for unloading groceries, allow at least 15” of counter space on the handle side of a standard refrigerator; on both sides if it’s a side-by-side model. Or include a landing area directly across from the refrigerator, but no more than 48” away. 6. For cleanup ease, install the dishwasher within 36” of one edge of the sink and allow for at least 21” of standing room next to it. 7. For microwaves and ovens, provide at least 15 “ of counter space nearby, at least 16” deep. 8. For optimum clearance, no entry, appliance, or cabinet doors should interfere with another. 9. For comfort and to help avoid repetitive-motion injury, plan for work counters of different heights; between 28 and 36” off the floor (easier for chopping and seated-use access), and between 36 and 46” for general tasks (higher counters accommodate taller cooks). 10. To install a cabinet unit above the cook top, make sure the clearance is at least 24” for a fireproof surface, 30” for an unprotected surface. Designing a kitchen is as much a science as it is an art. Knowing the recommended measurements to use when planning the project can make all the difference in the final outcome. Check out this beautiful 1 ACRE Property !! Built 1998, 2015 Remodeled Kitchen and Bath, 2015 New Roof, 2014 Water Heater, 2015 Central A/C, 2015 Power Generator installed, BBQ Hooked to Home Gas Line, Professional Landscape, Expanded Wood Deck Remodeled 2015, Updated Home, Cape Cod Home for Sale, Sandwich Real Estate, Close to Pond & Walking trails, No Flood Insurance Needed, Free Water Well & High-End Water Purification System, Soft Water System, Solar Energy, NEST Climate Control, FAST WiFi, Security Lighting, 1 Acre Lot, Koi Fish Pond, Nice Neighbors, features 3 Bedrooms, 2 Full Baths, (updated Master Bath) Southern Yellow Pine Floors, Large Updated Kitchen, Granite Counter Tops, Tile, Custom Cabinetry, Crown Molding with Breakfast Bar and Stainless Steel Appliances. Call me, Davidson Calfee (508) 540-2603 or email [email protected] to see the house!! Safe Neighborhood, Private location - NEST Climate Control Link-
|
better Insurance
|
-
HOME
- Send me a Home Insurance Quote >
- FLOOD Insurance, Massachusetts >
- Cape Cod Home Insurance
- Pay Your Home Insurance Bill Online
- Ordinance or Law Coverage
- How to Prevent a Claim on your Home Insurance Policy
- Videos - Cape Cod Real Estate Tips >
- Cape Cod Massachusetts Arbella Insurance Discounts
- Cape Cod Massachusetts Lloyds of London Home Insurance
- Safety Insurance Discounts for Cape Cod, Massachusetts
- MPIUA - MA Property Insurance Underwriting Association "Fair Plan"
- Cape Cod Massachusetts Home Protection Insurance
- Hurricane Preparedness >
-
AUTO
- Send me an Auto Insurance Quote for Cape Cod, Massachusetts
- BOAT Insurance >
- Cape Cod, MA Dept. of Motor Vehicles
- Cape Cod Massachusetts - Report an Auto Insurance Claim
- Auto Insurance Quote - CAR BUYING TIPS : Auto Insurance for Cape Cod, MA
- InControl Driver Training
- Car Insurance for Cape Cod Massachusetts - Arbella Insurance - Send me an Auto Quote >
- Plymouth Rock - Send me an Auto Quote >
- Encompass Insurance Discounts
- Safety Insurance - Send me an Auto Quote >
- Travelers Insurance Discounts
- Progressive Insurance - Send me an Auto Quote
- LIFE
- OFFICES
- ABOUT US
- Stay Home
- Home Insurance Explained
- Agent Login
- Privacy Policy
- Videos - Cape Cod Real Estate Investing, Taxes & Insurance
- Videos - Cape Cod Coastal Real Estate
- Português
Arthur D. Calfee Insurance Agency, Inc. is a friendly local insurance agency proudly offering Massachusetts, Cape Cod and the Islands. A-Excellent AM Best rating, A+ Excellent by the BBB
Using innovative thinking, cutting-edge tools and expert resources at national and local levels, we deliver the best possible outcome on every policy we manage. Need Home Insurance? Easy, Fast, & Secure Home Insurance. Get Free Quotes 100% Online Now! Available 24/7. Affordable Rates. Cover Your Biggest Investments. Get a homeowners insurance quote, find coverage options. We'll help you understand and customize the right home insurance coverage for you.
Home is where your heart is—along with a healthy chunk of your net worth. Get started today with a free homeowner's quote.
Compare home insurance quotes today and save on protection for your biggest investment. Build a Custom Policy & Make the Switch! Our local underwriting professionals focus exclusively on finding the best home insurance, homeowner's insurance, hazard insurance, investment property insurance, flood insurance, flood zone information, vacation home insurance, second home insurance, auto insurance, collector car insurance, business insurance, general liability insurance, property insurance, professional liability insurance, contractor's liability insurance, worker's comp insurance, key man insurance, whole life insurance, term life insurance, group or personal disability, & long-term care insurance policies to patrons in the following Cape Cod, Massachusetts towns, communities and villages: Barnstable, Bourne, Pocasset, Brewster, Buzzards Bay, Centerville, Chatham, Cotuit, Craigville, Dennis, East Dennis, Eastham, Falmouth, East Falmouth, Hatchville, West Falmouth, North Falmouth, Woods Hole, Harwich, Hyannis, Hyannisport, Martha's Vineyard, Nantucket, Marstons Mills, Mashpee, Orleans, Osterville, Provincetown, Sandwich, Sagamore, Sagamore Beach, Truro, Wellfleet, Yarmouth, and Yarmouthport. Real-Time Pricing. Insurance coverage: Wind Damage, Fire Loss, Water Damage. Protect your home and belongings. Low Rates For Your Best Options to Save Money On Great Coverage! Get a quote today. Home insurance helps protect your house and your family.
Testimonials & Endorsements for the Best Insurance Agent on Cape Cod, MA
PHONE: (800) 479-2601 CUSTOMER SUPPORT & SERVICE
Please note: The above is meant as general information to help you understand the different aspects of insurance. This information is not an insurance policy, does not refer to any specific insurance policy, and does not modify any provisions, limitations, or exclusions expressly stated in any insurance policy. Descriptions of all coverages and other features on this page are necessarily brief; in order to fully understand the coverages and other features of a specific insurance policy, we encourage you to read the applicable policy and/or speak to an insurance representative. Coverages and other features vary between insurers, vary by state, and are not available in all states. Whether an accident or other loss is covered is subject to the terms and conditions of the actual insurance policy or policies involved in the claim. References to average or typical premiums, amounts of losses, deductibles, costs of coverages/repair, etc., are illustrative and may not apply to your situation. We are not responsible for the content of any third-party sites linked from this page.
© 2024 Copyright, Arthur D. Calfee Insurance Agency, Inc.
Calfee Cares.® Privacy Policy
Calfee Cares.® Privacy Policy





 RSS Feed


